

How to Fill Thinning & Sparse Brows
Master the art of realistic, hair-like strokes! Learn the step-by-step technique to pre-cleansing, setting your brows with clear hold gel first, and using a dual-ended brow pen to build natural-looking volume and definition.

How to Get the Best Results from Your Brow Pen
Brow pens give the most realistic finish, but technique is everything! Watch this quick guide to master the 3 key steps:
Clean & Dry Skin: Prep the brow area with a damp Q-tip to remove oils and makeup that cause feathering or blurring.
Featherlight Pressure: Use the lightest hand possible to build crisp, natural strokes.
Pen Maintenance: Keep the tip clean with a water wipe to prevent product buildup and blockages.

Mastering Application with Lash Lab Restorative Mascara
It’s all in the technique! Learn how to build length, volume, and lash-by-lash definition using light, thin coats—focusing on lifting from the roots for a weightless, clump-free finish.

How to Use & Care for Your Brow Boost Multi Stroke Marker
Achieve full, feathered brows with precision and ease. Follow these expert tips for optimal application and product care:
Featherlight Application: Use very light pressure and short upward strokes to create natural dimension.
Build Colour Lightly: Layer gradually rather than pushing down to force definition or pigment all at once.
Keep It Clean: Since the tip acts like a brush, wipe it down with a water wipe twice a week to remove makeup buildup and ensure smooth ink flow.

How to create the perfect brow
Prep & Coat with Browtox: Run it through the brow, teasing against the grain to coat every hair. Brush & Set:Brush upwards at an angle using both the bristles and sponge for a manicured, natural hold. Define with The Brow Blade: Once dry, use the lightest pressure with your pinky as leverage to add hyper-realistic hair strokes, layering tones for a full, wispy effect.

Brow Boost or The Brow Blueprint®? Let’s break it down!
Brow Boost: Features a larger brush head designed to quickly & easily fill out sparse or very thin brows in seconds.
The Brow Blueprint®: Uses a smaller, ultra-precise tip for fine detail work and targeted gap filling. Plus, it’s dual-ended with two complementary shades so you can layer for a hyper-realistic 3D effect

How to Fill in Brows for a Natural, Diffused Finish
Master effortless, fluffy brows with BROW AID®.
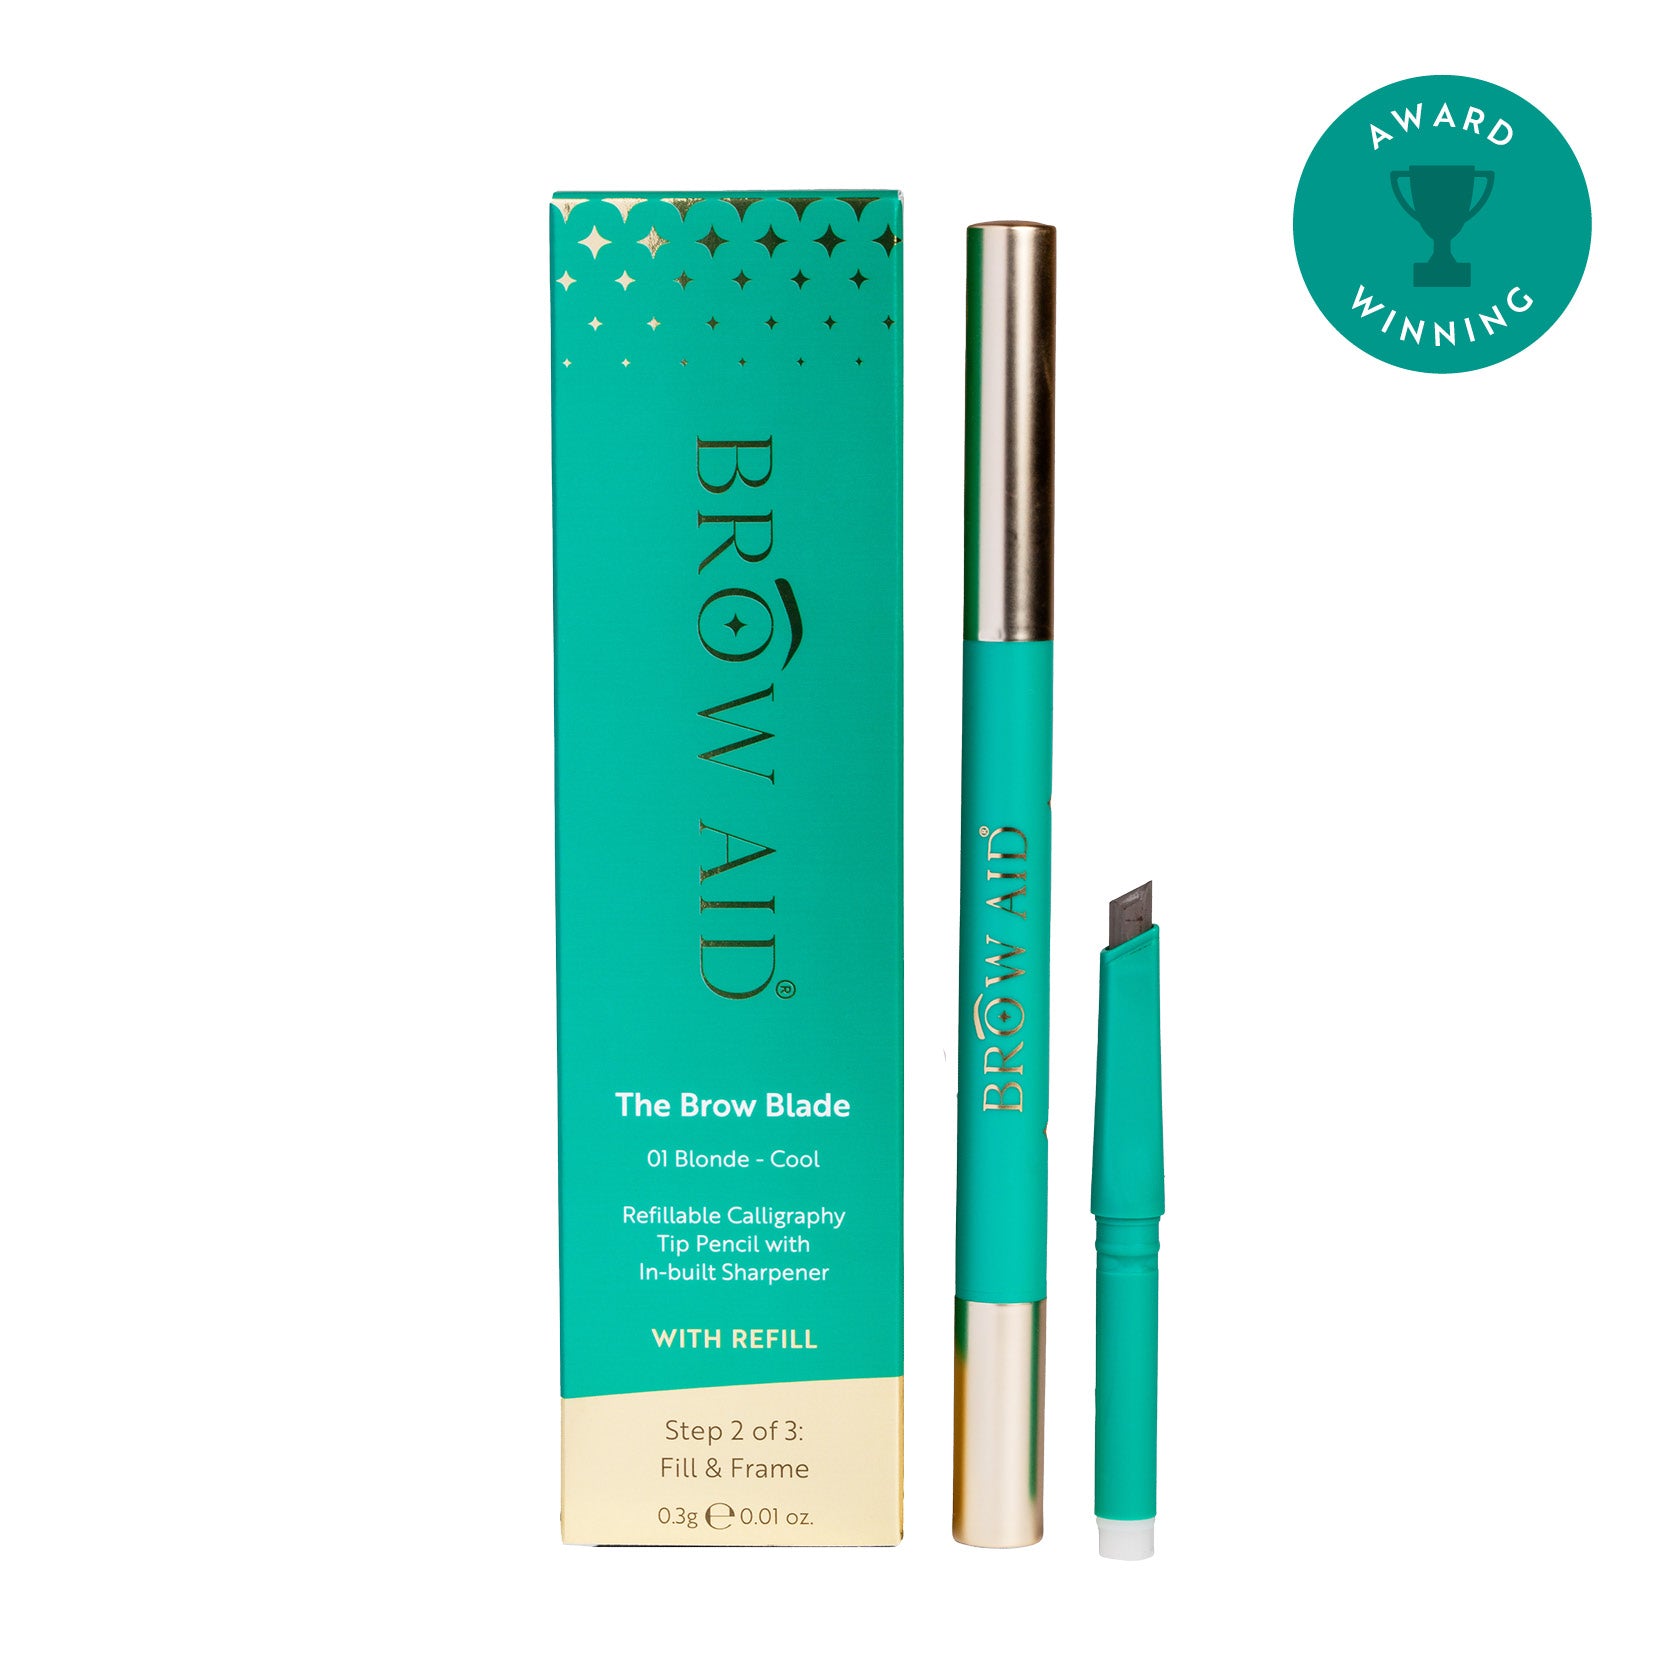
Define: Use the calligraphy-tip BROW AID® Brow Blade to etch a soft baseline for instant structure and lift.
Diffuse & Feather: Brush hairs downward to reveal hidden gaps, then use light upward flicks to fill in. Spoolie through to soften lines.
Volumise: Finish with BROW AID® Brow Mascara to coat wispy hairs for textured, airy, and full dimension.

Achieve balanced, natural brows with BROW AID®.
Fill & Shape: Fill in sparse areas underneath and along the arch using BROW AID® Masterstroke in Taupe.
Define & Soften: Use the spoolie end to soften any hard lines, then flip to the felt-tip side to draw precise, hair-like strokes following your natural hair growth.
Set & Lock: Coat and set brows in place with BROW AID® Browtox for long-lasting, lifted hold.

Transform sparse brows into full, defined, natural-looking arches using BROW AID®.
Set & Prep: Apply BROW AID® Browtox to lock eyebrow hairs in place before applying color.
Map & Fill: Use the pencil end of the BROW AID® Masterstroke Brow Trio to map out your brow shape and fill in sparse gaps seamlessly.
Detail & Blend: Use the fine felt-tip pen to draw fine, hair-like strokes for extra dimension. Blend with the attached spoolie, then lock it all in with a final coat of Browtox.

Effortlessly fill in and volumise slim brows using BROW AID®.
Balance & Control: Rest your pinky finger on your cheek for stability while applying light, upward strokes following your natural hair growth.
Fluff & Define: Use the Petite Stroke marker side of the BROW AID® Masterstroke Brow Trio to fluff out, fan out, and add body to sparse brows.
Detail: Flip to the angled two-prong tip side to seamlessly create fine, hair-like strokes and complete your brow look.

Get full, lifted lashes and defined brows with BROW AID®
Lift the Roots: Blink into the wand and wiggle at the root before pulling through. Think lift first, length second.
Sculpt & Fan: Pull outer lashes outward and layer in light strokes while the mascara is still wet (one eye at a time).
Layer, Don't Load: Avoid re-dipping early. Wiggle, lift, and comb through to separate without weighing down.